Module 3 Formstorming
Weekly Activity Template
Eric Ambrad
Project 3
Module 3
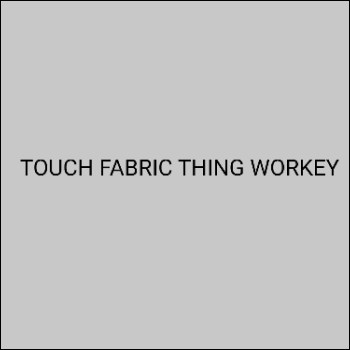
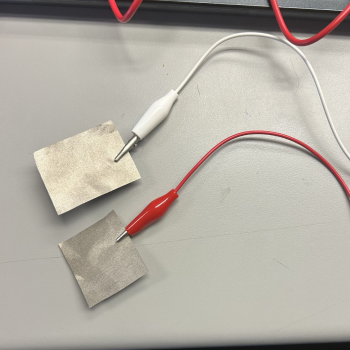
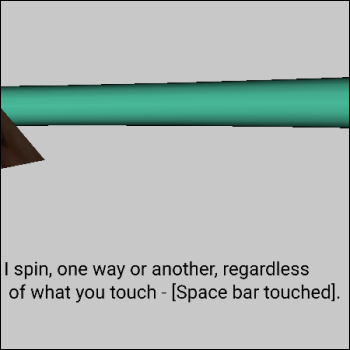
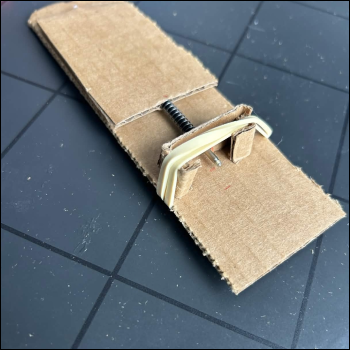
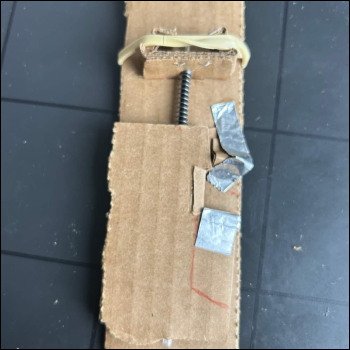
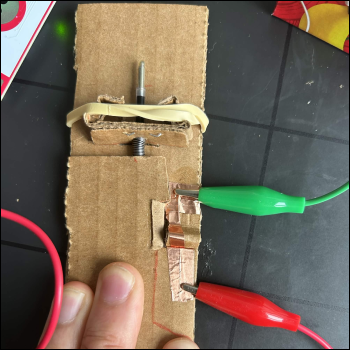
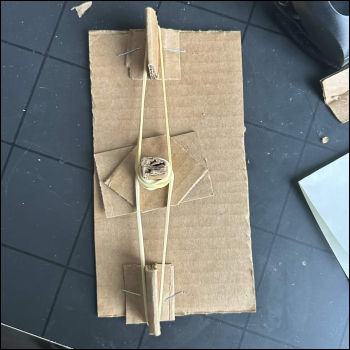
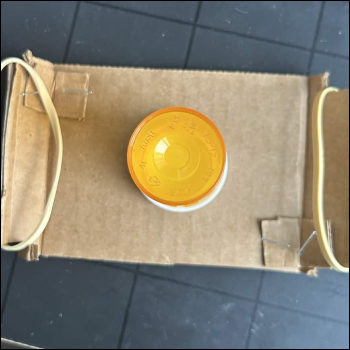
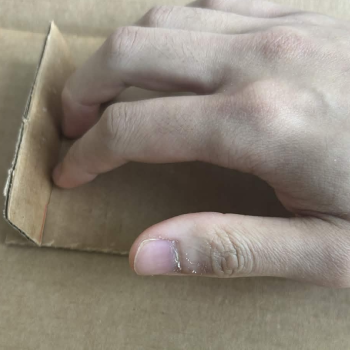
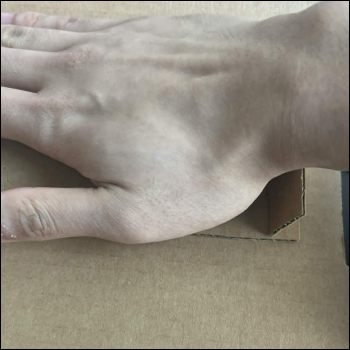
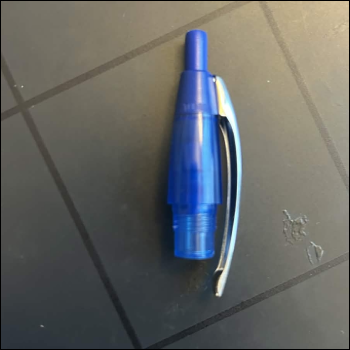
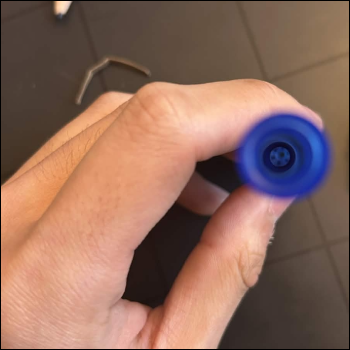
Touch and feelin' stuff
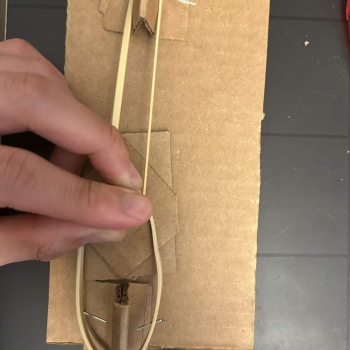
Activity 1


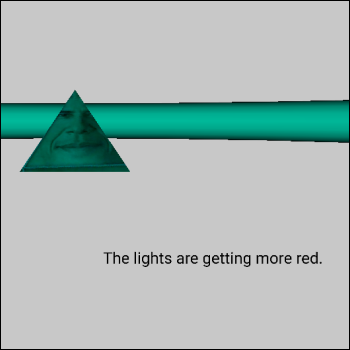

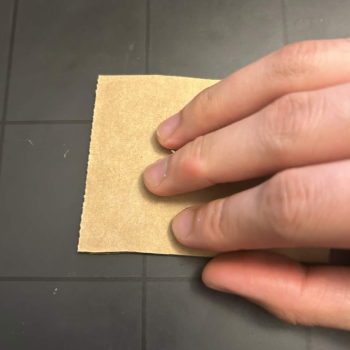
Activity 2


Project 3
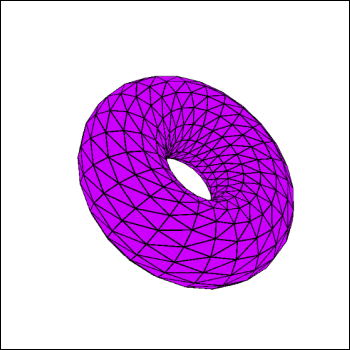
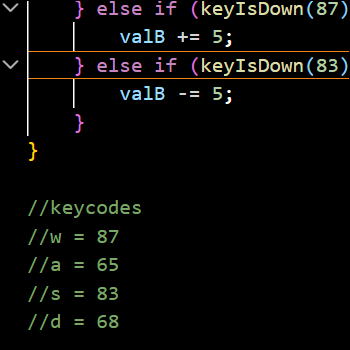
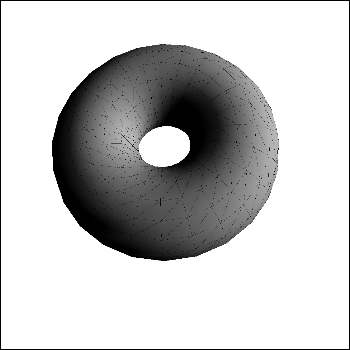
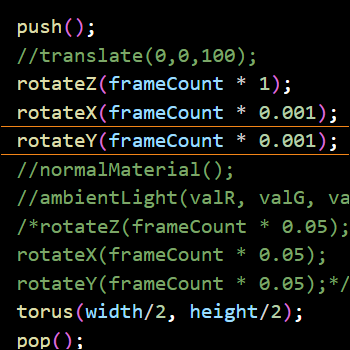
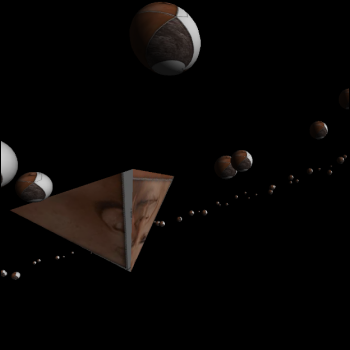
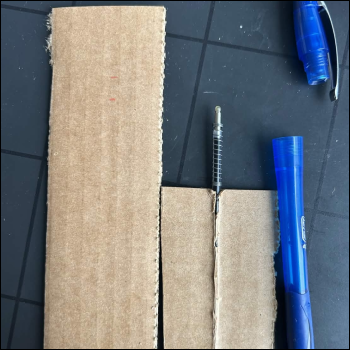
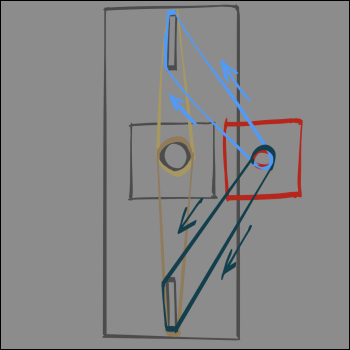
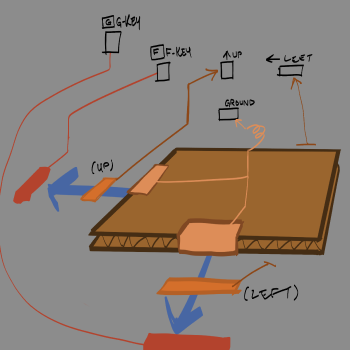
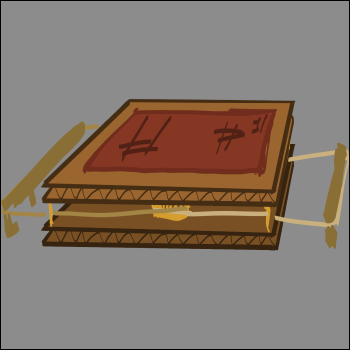
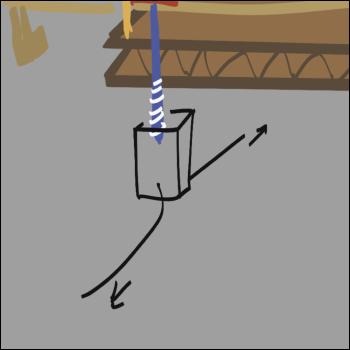
Final Project 3 Design
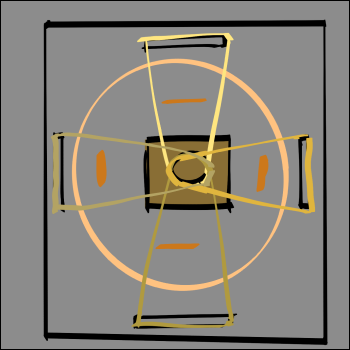
Space Exploration and Haptics (Maxwell Cat Boxes included!)
-->